
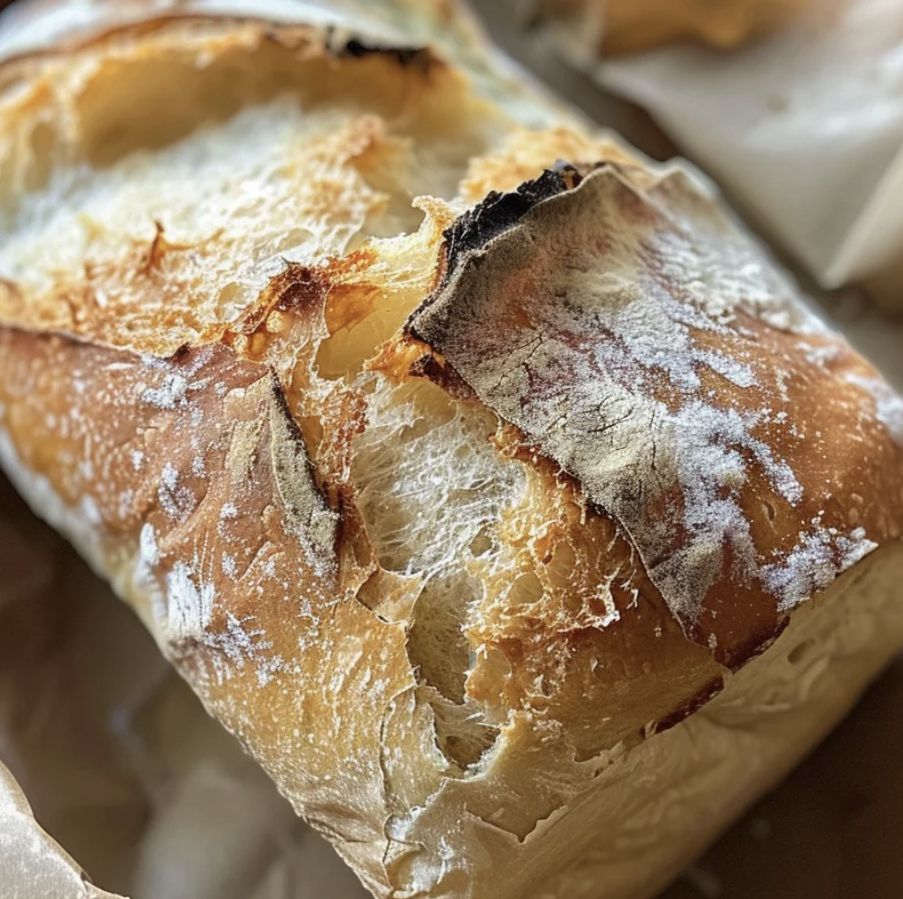
There is something incredibly satisfying about the aroma of freshly baked bread wafting through your home—the first crusty bite revealing a soft, airy crumb inside. For many home cooks, however, the idea of baking bread from scratch feels intimidating. The kneading, the sticky dough, the flour scattered across the counter. It can be a lot.
This Bread in a Bag recipe changes all of that. It is the perfect starting point for beginner bakers and a fun, mess-free project for kids and adults alike. Everything happens inside a resealable plastic bag: mixing, kneading, even the first rise. No sticky countertops. No extra bowls to wash. Just simple ingredients, a little squishing, and the reward of warm, homemade bread.
Using minimal ingredients and a unique mixing method, this recipe delivers wonderfully flavorful, textured bread that you will want to make over and over. The crust is golden and crisp. The inside is soft and fragrant. And the whole process is surprisingly quick.
Why You’ll Love This Recipe
-
No messy countertops—everything mixes inside the bag
-
Beginner-friendly and foolproof
-
Only 6 simple ingredients
-
No stand mixer or bread machine required
-
Fun for kids to help with (they love squishing the bag)
-
Fresh, homemade bread in under 2 hours
Bread in a Bag
Prep Time: 10 minutes | Rise Time: 1 hour | Bake Time: 20-25 minutes | Total Time:Approximately 1 hour 35 minutes
Yield: 1 loaf (about 8 slices)
Ingredients
-
3 cups all-purpose flour, divided
-
3 teaspoons sugar
-
1 packet (2¼ teaspoons) instant yeast
-
1 teaspoon salt
-
1 cup warm water (about 110°F / 43°C)
-
3 tablespoons olive oil (or vegetable oil)
Step-by-Step Instructions
1. Mix the Dry Ingredients:
Add 1 cup of all-purpose flour, 3 teaspoons of sugar, and 1 packet of instant yeast into a large, heavy-duty zip-top bag. Seal tightly and shake vigorously to combine and activate the yeast evenly in the flour mixture.
2. Add the Liquids:
Pour 1 cup of warm water and 3 tablespoons of olive oil into the bag. Reseal the bag, removing excess air, and gently squish and massage the ingredients through the plastic until they start coming together.
3. Add More Flour and Salt:
Add another 1 cup of flour and 1 teaspoon of salt to the bag. Seal again and continue mixing by squishing the dough inside the bag. Gradually add the remaining 1 cup of flour, a little at a time, mixing well after each addition until a soft dough forms that is no longer sticky.
4. Knead the Dough:
Press and fold the dough in the bag for about 5 minutes. The bag helps keep things tidy and allows you to feel the dough’s elasticity without any mess.
5. Let It Rise:
Loosely seal the bag (leave a small opening for air to escape) and leave it in a warm spot for 1 hour. The dough should double in size, becoming puffy and soft.
6. Shape the Loaf:
Carefully remove the dough from the bag. Gently shape it into a loaf by folding and smoothing the surface. Place it into a greased 8×4-inch loaf pan or directly on a baking sheet lined with parchment paper for a rustic, free-form shape.
7. Bake to Perfection:
Preheat your oven to 375°F (190°C). Bake the loaf for 20 to 25 minutes until the crust turns golden brown and the loaf sounds hollow when tapped on the bottom.
8. Cool and Enjoy:
Remove from the oven and let it cool on a wire rack for at least 10 minutes before slicing. Enjoy the crusty outside and soft, fragrant inside.
Recipe Notes & Pro Tips
Use a Heavy-Duty Bag: Regular storage bags may tear during kneading. Use a freezer-safe or heavy-duty zip-top bag for best results.
Water Temperature is Important: The water should be warm but not hot—about 110°F (43°C). It should feel like warm bathwater. Water that is too hot will kill the yeast; water that is too cold will not activate it properly.
Instant Yeast vs. Active Dry Yeast: This recipe uses instant yeast (sometimes called rapid-rise or bread machine yeast). It does not need to be dissolved in water first. If using active dry yeast, dissolve it in the warm water with a pinch of sugar and let it sit for 5-10 minutes until frothy before adding to the bag.
Flour Variations: You can substitute up to 1 cup of the all-purpose flour with whole wheat flour. The bread will be denser and nuttier. For a softer, richer bread, substitute ¼ cup of the flour with potato flakes.
Add-Ins: Before the final kneading, you can add ½ cup of grated cheese, ¼ cup of fresh or dried herbs, 2 cloves of minced garlic, or ½ cup of raisins and cinnamon to the bag.
No Loaf Pan? No Problem: Shape the dough into a round boule and bake it directly on a parchment-lined baking sheet. Slash the top with a sharp knife before baking for a rustic look.
Variations
Herb and Garlic Bread: Add 1 tablespoon of dried Italian seasoning and 2 cloves of minced garlic to the bag with the final cup of flour.
Cheese Bread: Add ½ cup of shredded cheddar or Parmesan cheese to the dough during the final mixing stage.
Cinnamon Raisin Bread: Add ½ cup of raisins and 1 teaspoon of cinnamon to the bag with the final cup of flour. Reduce the salt to ½ teaspoon.
Olive and Rosemary Bread: Add ½ cup of chopped black or green olives and 1 tablespoon of fresh chopped rosemary to the dough.
Seeded Bread: After shaping the loaf, brush the top with water and sprinkle with sesame seeds, poppy seeds, or everything bagel seasoning before baking.
Serving Suggestions
This versatile bread is delicious in countless ways:
-
Sliced and toasted with butter and jam
-
As a sandwich loaf for lunch
-
Served alongside soup or stew
-
Topped with avocado and a sprinkle of salt
-
Turned into garlic bread for pasta night
-
Cubed and toasted for croutons or breadcrumbs
Storage & Reheating
Store the cooled bread in an airtight container or wrapped in plastic wrap at room temperature for up to 3 days. Do not refrigerate, as bread stales faster in the refrigerator.
To freeze, wrap the cooled loaf tightly in plastic wrap and then foil. Freeze for up to 3 months. Thaw at room temperature before serving.
To refresh stale bread, sprinkle the loaf lightly with water and warm it in a 350°F oven for 5-10 minutes. The crust will crisp and the interior will soften.
Why This Recipe Works
The Bread in a Bag method is brilliant for several reasons. First, it eliminates mess. All the mixing and kneading happens inside the bag, so flour stays contained and clean-up is minimal. Second, it is foolproof. The bag allows you to feel the dough’s texture as it develops without getting sticky hands. Third, it is fun. The squishing and massaging is satisfying and makes bread baking accessible to kids and adults alike.
The recipe itself is a basic white bread formula: flour, water, yeast, salt, sugar, and oil. The sugar feeds the yeast, helping it produce carbon dioxide for a good rise. The oil adds tenderness and helps keep the bread moist. The result is a loaf that is crusty on the outside, soft on the inside, and infinitely customizable.
This is the perfect recipe for anyone who has ever wanted to bake bread but felt intimidated. It is simple, forgiving, and rewarding. One bite of warm, fresh bread straight from your own oven, and you will never buy store-bought again.