
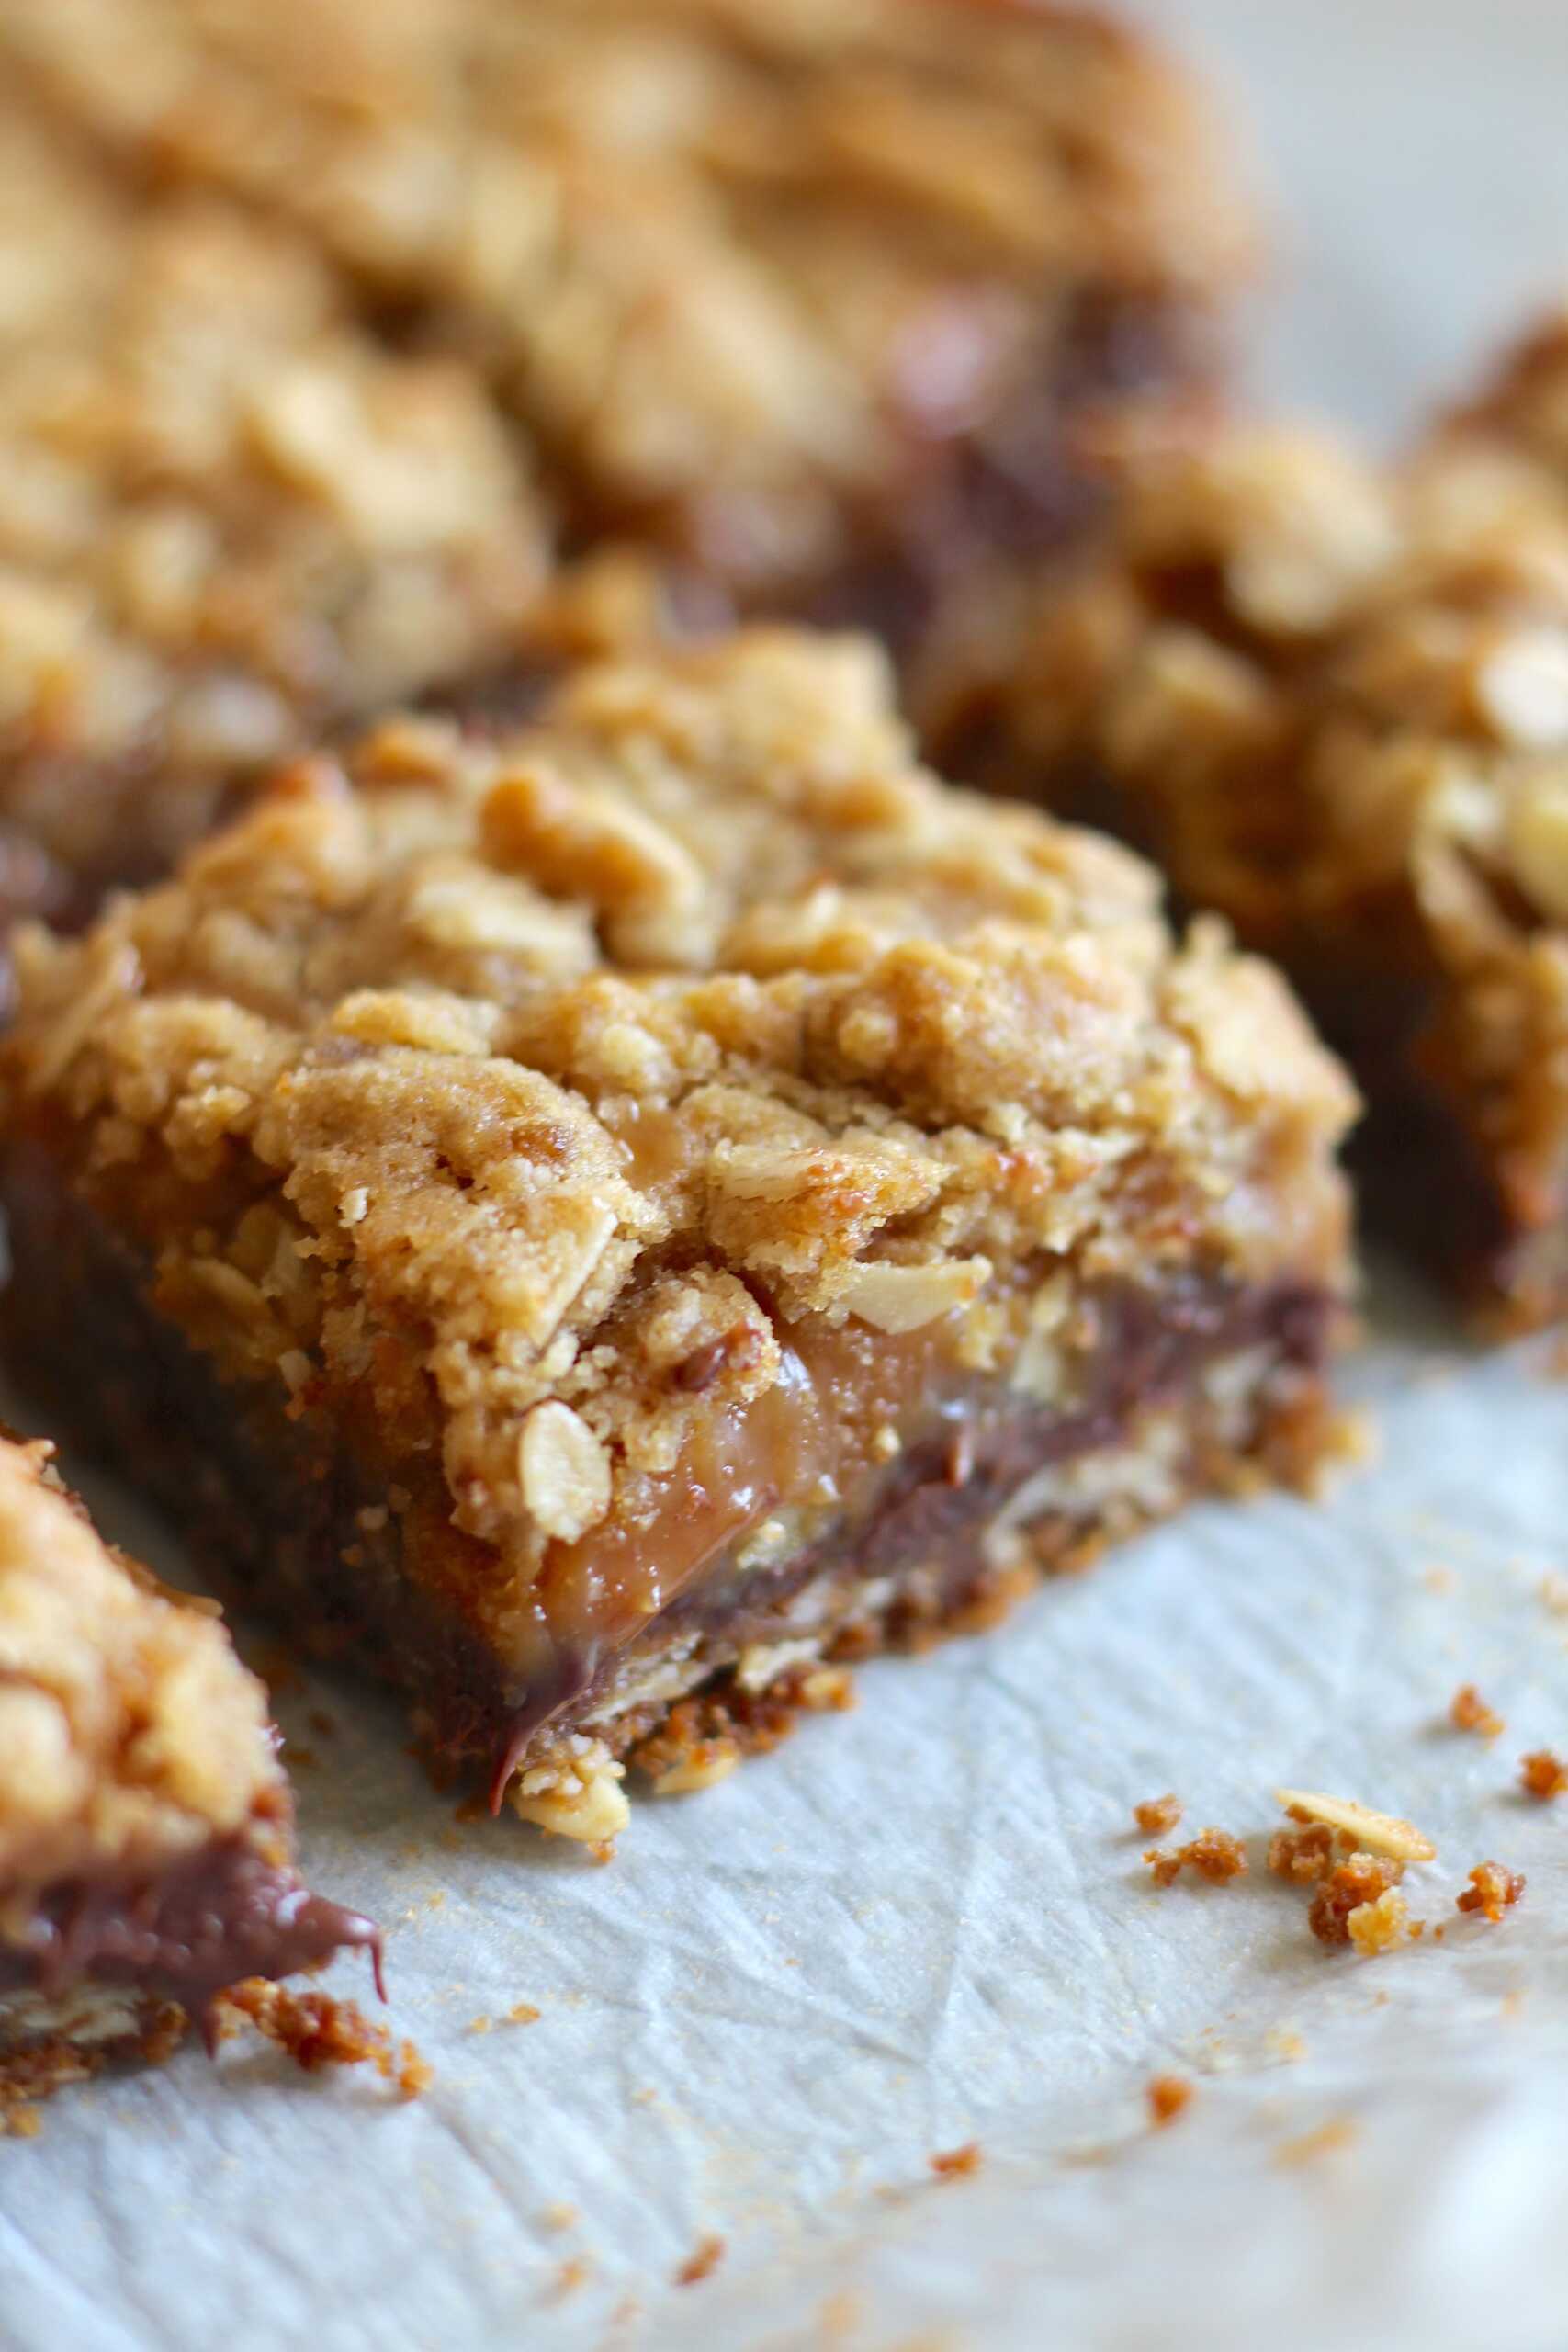
Caramelitas
There are dessert bars that are delicious, and then there are dessert bars that are absolutely legendary. Caramelitas are firmly in that second category. Imagine a buttery, chewy oatmeal cookie crust, a layer of rich semi-sweet chocolate, and a generous blanket of gooey, salted caramel, all topped with more of that irresistible oat crumble . They’re the perfect balance of textures and flavors: chewy, crunchy, sweet, and just a little bit salty.
What I love most about these bars is how they feel both nostalgic and impressive. They’re a classic for a reason, a staple at potlucks and family gatherings that never fails to disappear within minutes . The layers meld together into a truly decadent treat that tastes like it came from a bakery, yet they come together with simple, pantry-friendly ingredients . They’re the kind of dessert that makes you look like a baking hero with very little fuss.
Ingredients
For the Oatmeal Crust & Topping:
-
1 cup all-purpose flour
-
1 cup old-fashioned rolled oats
-
¾ cup brown sugar, packed
-
½ teaspoon baking soda
-
¼ teaspoon salt
-
¾ cup unsalted butter, melted
For the Filling:
-
¾ cup semi-sweet chocolate chips
-
1 (11 oz) bag soft caramels, unwrapped (or caramel bits)
-
½ cup heavy cream
Directions
-
Preheat and Prepare: Position a rack in the center of your oven and preheat to 350°F (175°C). Line an 8×8 or 9×9-inch baking pan with parchment paper, leaving some overhang on the sides for easy removal . Lightly grease the paper.
-
Make the Oatmeal Base: In a large bowl, whisk together the flour, oats, brown sugar, baking soda, and salt. Pour in the melted butter and stir until the mixture is evenly combined and resembles coarse, damp sand .
-
Pre-bake the Crust: Press half of the oat mixture firmly and evenly into the bottom of the prepared pan. Bake for 10 minutes, or until it is just set and slightly golden around the edges .
-
Melt the Caramel: While the crust is baking, combine the unwrapped caramels and heavy cream in a medium saucepan. Cook over low heat, stirring constantly, until the caramels are completely melted and the sauce is smooth. Remove from heat .
-
Assemble the Layers: Remove the pan from the oven and immediately sprinkle the chocolate chips evenly over the hot crust. Pour the warm caramel sauce over the chocolate chips, spreading it gently to cover . Crumble the remaining oat mixture over the top of the caramel.
-
Bake Again: Return the pan to the oven and bake for 18-22 minutes, or until the topping is a light, beautiful golden brown .
-
Cool Completely: This is the hardest part! Let the bars cool completely in the pan on a wire rack. For the cleanest slices, you can even refrigerate them for an hour after they’ve come to room temperature. The caramel needs to set . Once set, use the parchment paper to lift the block out of the pan and slice into squares.
Variations
-
Nutty Delight: Add ½ cup of chopped pecans or walnuts to the oat mixture for an extra crunch that pairs beautifully with the caramel and chocolate .
-
Chocolate Swap: For a different flavor, try dark chocolate chips for a richer taste, or white chocolate chips for a sweeter, creamier contrast .
-
Gluten-Free Version: You can easily make these gluten-free by using a 1:1 gluten-free flour blend and certified gluten-free old-fashioned oats. The results are just as delicious .
-
Salted Caramel Boost: For an extra layer of flavor, sprinkle a little flaky sea salt over the caramel layer before adding the oat topping .
Expert Tips
-
Melt the Caramel Gently: When melting the caramels with heavy cream, use low heat and stir constantly . High heat can cause the caramel to burn or become hard and grainy.
-
Press the Crust Firmly: Press the oat mixture firmly into the pan for the base layer. A sturdy crust is essential to hold all the gooey toppings .
-
Don’t Overbake: Keep an eye on the bars during the second bake. The top should be lightly golden, not too dark, to maintain a tender, chewy texture .
-
Cool Completely Before Cutting:This is non-negotiable for clean, neat slices . If you cut them too soon, the caramel will ooze out and the bars will fall apart.
Storage
Store caramelitas in an airtight container at room temperature for up to 4 days . They also freeze beautifully! Wrap individual bars tightly in plastic wrap, then place them in a freezer bag for up to 3 months . Thaw at room temperature or give them a quick 10-15 second zap in the microwave for that fresh, gooey texture.
Frequently Asked Questions
-
Can I use a store-bought caramel sauce instead of melting caramels? Yes, but melting your own caramel candies with cream is preferred because it sets into a firmer, more distinct layer . If using jarred sauce, choose a thick one and skip the heavy cream, but be prepared for a slightly messier slice.
-
Why did my caramel harden too much? This usually happens if the caramel mixture was cooked over heat that was too high. Always melt it gently on low heat .
-
How do I prevent the caramel from sticking to the pan? Lining the pan with parchment paper is the best way to ensure easy removal and clean slices .
What to Serve With This Dish
-
A scoop of vanilla ice cream melting over a warm bar .
-
A tall glass of cold milk.
-
A cup of hot coffee or a creamy chai latte .
Final Thoughts
These Caramelitas are pure comfort in bar form. They’re the kind of treat that feels both homespun and incredibly special, perfect for any gathering—or just a quiet evening on the couch. I hope they become a beloved tradition in your kitchen.