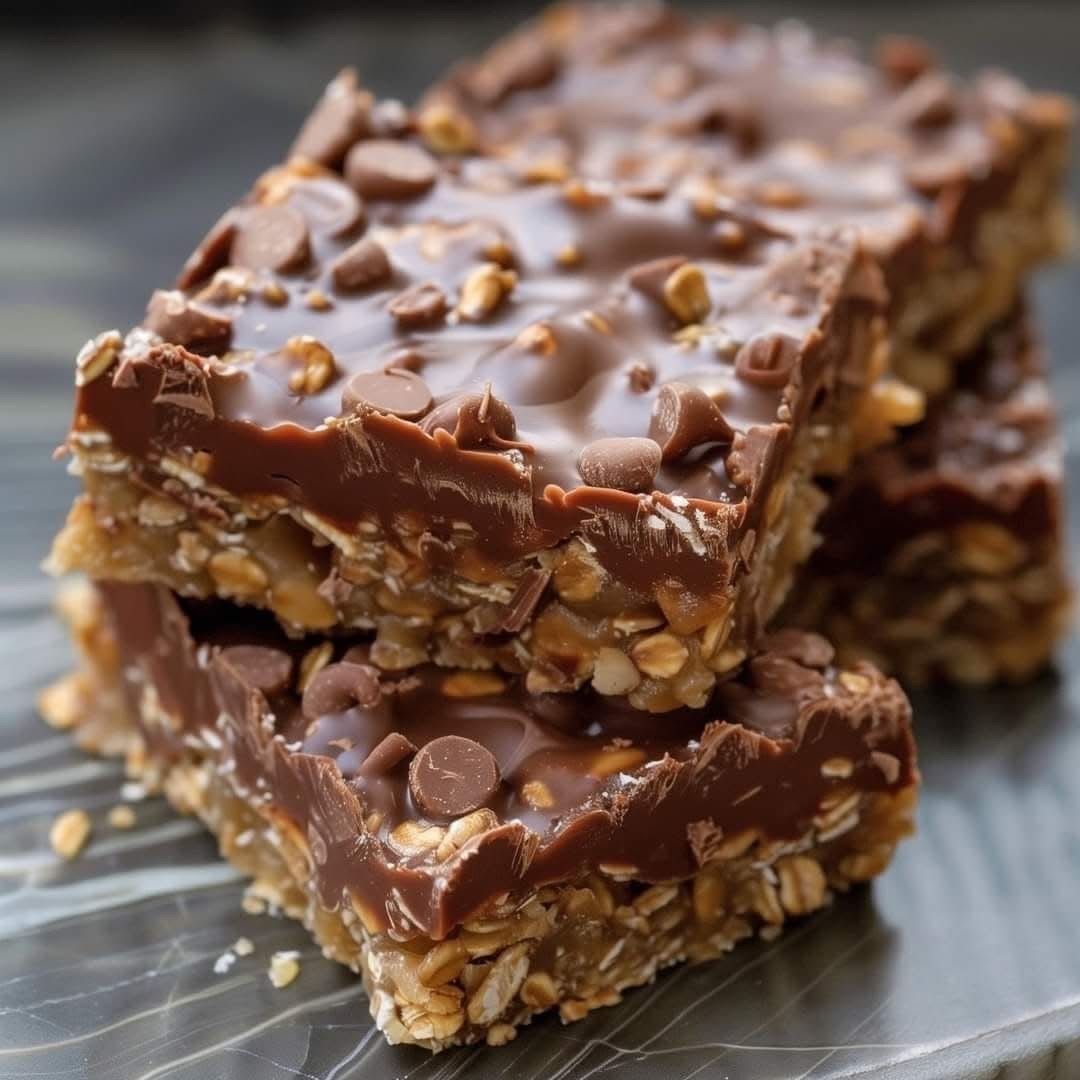
Craving something sweet, crunchy, and satisfying—but don’t want to turn on the oven? These Chocolate Oat and Nut Bars are just what you need. With a chewy oat base, a layer of gooey caramel (or sweetened condensed milk), and a silky chocolate topping, these bars strike the perfect balance between indulgent dessert and energy-boosting snack.
Whether you’re prepping snacks for the week, making a potluck treat, or just need a quick chocolate fix, this no-bake bar recipe delivers rich, layered flavor with minimal effort.
A Little History
Oat and nut bars have humble beginnings in traditional baking, where grains like oats and natural sweeteners like honey or syrup were staples. Over time, inventive bakers started adding layers—like chocolate and nuts—to transform these simple snacks into decadent layered desserts.
Today’s version brings together a crumbly oat base, a buttery caramel middle, and a creamy chocolate finish—no oven required.
Ingredients
For the Oat Base & Nut Layer:
-
2 cups (180g) rolled oats
-
1 cup (100g) chopped nuts (almonds, peanuts, or walnuts)
-
1 cup (120g) crushed graham crackers
-
1 cup (200g) brown sugar
-
½ cup (115g) unsalted butter, melted
-
1 cup (300g) caramel sauce or sweetened condensed milk
For the Chocolate Topping:
-
1½ cups (250g) semi-sweet chocolate chips
-
2 tablespoons (30g) butter
-
¼ teaspoon sea salt
Directions
Step 1: Prepare the Base
In a large bowl, mix together:
-
Rolled oats
-
Chopped nuts
-
Crushed graham crackers
-
Brown sugar
Add the melted butter and stir until the mixture has the texture of damp sand.
Step 2: Form the Base Layer
-
Line an 8×8-inch baking dish with parchment paper.
-
Press the oat mixture firmly into the bottom of the dish to form a flat, even base.
Step 3: Add the Caramel Layer
-
Pour the caramel sauce (or sweetened condensed milk) over the oat base.
-
Spread it evenly using a spatula.
-
Refrigerate for 15 minutes to allow it to set slightly.
Step 4: Prepare the Chocolate Topping
-
Melt the chocolate chips and butter together in a microwave-safe bowl or using a double boiler.
-
Stir in sea salt for depth of flavor and balance.
Step 5: Assemble the Top Layer
-
Pour the melted chocolate over the chilled caramel layer.
-
Spread evenly with a spatula until fully covered.
Step 6: Chill and Set
-
Refrigerate the entire tray for at least 2 hours, or until completely set.
Step 7: Slice and Serve
-
Once firm, lift the block out of the pan using the parchment paper.
-
Slice into squares or bars.
-
Serve cold or at room temperature.
Why You’ll Love These Bars
-
No Baking Needed – Perfect for hot days or quick prep
-
Easy to Customize – Add dried fruit, shredded coconut, or chia seeds
-
Meal Prep Friendly – Stores well for snacks throughout the week
-
Ideal for Gifting – A homemade sweet treat that’s easy to package
💪 Health & Nutrition (Per Bar, Approx.)
-
Calories: 250
-
Carbs: 30g
-
Sugar: 20g
-
Protein: 4g
-
Fat: 12g
-
Fiber: 3g
While these bars are a treat, they also offer healthy fats and fiber from oats and nuts.
Storage Tips
-
Refrigerate in an airtight container for up to 1 week.
-
For longer storage, freeze the bars in a single layer, then transfer to a freezer bag (good for up to 3 months).
Bonus Ideas
-
Gift it: Wrap bars in wax paper and tie with twine for homemade foodie gifts
-
Make it vegan: Use plant-based butter and dairy-free chocolate
-
Go gluten-free: Use certified gluten-free oats and gluten-free graham crackers
Final Thoughts
Whether you’re indulging your sweet tooth or looking for a high-energy snack, these Chocolate Oat and Nut Barsdeliver a satisfying crunch, creamy texture, and deep chocolate flavor—all in one bite. Best of all, there’s no oven involved. Make a batch, chill, slice, and share (or don’t—we won’t judge 😉).