We’ve all used safety pins—whether for quick clothing fixes, craft projects, or as part of a sewing kit. But have you ever noticed that tiny hole near the spring coil of a safety pin and wondered what it’s really for?
Surprisingly, it’s not just a random design element!
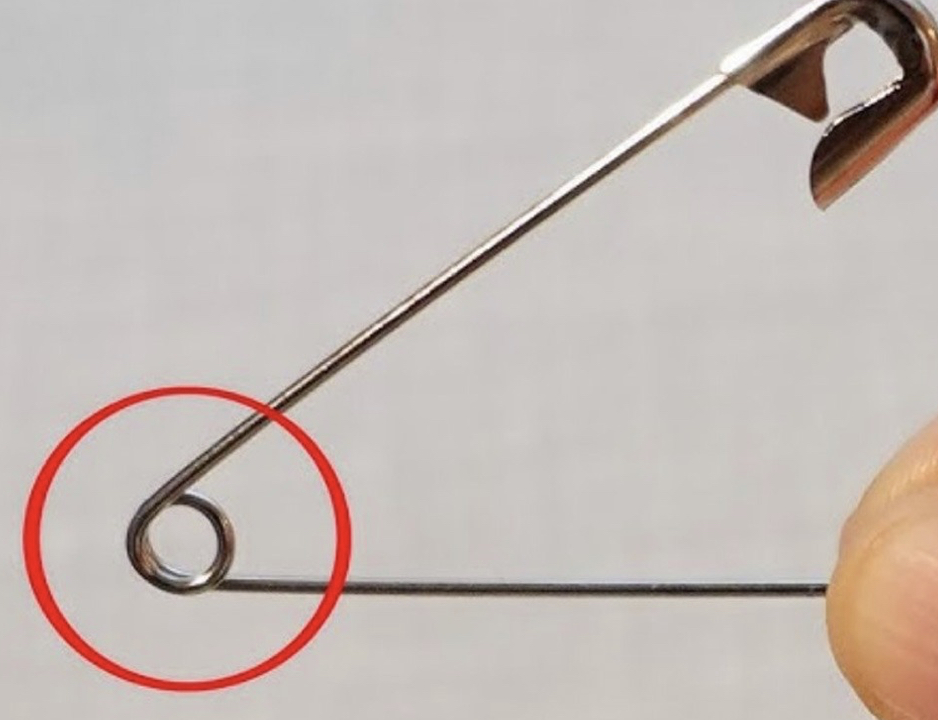
The Real Purpose of the Tiny Hole in a Safety Pin
The small hole at the end of the coiled spring isn’t just decorative — it plays a critical role in how the safety pin works:
-
Tension Control:
The hole allows precise control of the pin’s tension by guiding the wire during the manufacturing process. This ensures the pin opens smoothly but also holds firmly when closed, preventing accidental opening. -
Manufacturing Support:
During production, the hole often acts as a grip point to help shape and coil the pin under high-pressure machines. -
Optional Thread Holder:
Though not its main purpose, some crafters use the hole to thread a fine string or sewing thread for temporary holding during projects.
So next time you hold a safety pin, know that tiny hole is a quiet hero in the engineering of everyday tools!
Timeless Sewing Tricks Worth Bringing Back
While modern sewing machines and gadgets make stitching quicker and easier, some old-school techniques offer simple, practical solutions that are too good to forget.
Here are a few sewing tricks from the past that still deserve a spot in your sewing kit today:
1. Glide Your Thread with Beeswax
Beeswax isn’t just for candles!
-
Strengthens Thread
-
Prevents Tangling
-
Makes Hand Sewing Smoother
Simply run your thread across a block of beeswax before threading your needle — your stitches will glide like magic, and knots will be a thing of the past.
2. Mark with Dry Soap
Out of fabric chalk? No problem.
-
Use a sliver of dry soap as a marking tool.
-
It leaves clear, temporary marks that wash right out.
Perfect for last-minute adjustments or cutting guides.
3. Backstitch for Stronger Seams
Before finishing a seam, sew a few stitches backward over the last inch.
-
Secures Seams
-
Prevents Fraying & Unraveling
-
Adds Durability
A simple step that saves your projects from falling apart.
Final Thoughts
Sometimes, the simplest tools and oldest tricks prove to be the most effective. Whether it’s understanding the smart design of a safety pin or mastering vintage sewing hacks, keeping these timeless techniques alive adds skill and confidence to your craft.