When you are craving something creamy, tangy, and refreshingly light, this Lemon Cheesecake Mousse is the perfect answer. With just three simple ingredients, this no-bake dessert comes together in minutes and delivers a bright, zesty flavor that is absolutely irresistible. Silky smooth cream cheese is blended with fresh lemon juice and folded into fluffy whipped topping, creating a mousse that is light, airy, and bursting with citrusy goodness.
This dessert is ideal for spring and summer gatherings, Easter brunch, or any time you want a sweet treat that doesn’t weigh you down. It is quick enough for a last-minute dessert yet elegant enough to impress guests. Whether you serve it in individual cups or as a pie filling, this Lemon Cheesecake Mousse is sure to become a favorite.
Why You Will Love This Recipe
-
Just 3 Ingredients: Cream cheese, lemon juice, and whipped topping—that is all it takes.
-
No-Bake: Perfect for warm days or when you want a quick dessert without turning on the oven.
-
Light and Airy: The whipped topping creates a fluffy, mousse-like texture.
-
Bright, Zesty Flavor: Fresh lemon juice adds a tangy brightness that balances the creamy richness.
-
Quick and Easy: Ready in under 15 minutes with minimal prep.
-
Versatile: Serve as a mousse, pie filling, or cake topping.
Lemon Cheesecake Mousse
Prep Time: 10 minutes | Chill Time: 1 to 2 hours | Total Time: 1 to 2 hours
Servings: 4 to 6
This creamy, tangy, no-bake mousse combines cream cheese, fresh lemon juice, and whipped topping for a light and refreshing dessert.
Ingredients
-
1 cup cream cheese, softened
-
½ cup fresh lemon juice (about 2 to 3 lemons)
-
1 cup whipped topping (such as Cool Whip), thawed
Instructions
Step 1: Soften the Cream Cheese
Ensure the cream cheese is fully softened to room temperature. This allows it to blend smoothly without lumps.
Step 2: Beat the Cream Cheese
In a medium bowl, beat the softened cream cheese with an electric mixer on medium speed until smooth and creamy, about 1 to 2 minutes.
Step 3: Add Lemon Juice
Gradually add the fresh lemon juice, beating continuously until fully incorporated and smooth. The mixture will thicken slightly.
Step 4: Fold in Whipped Topping
Gently fold the whipped topping into the cream cheese mixture using a spatula. Fold until no white streaks remain and the mousse is light and uniform. Do not overmix.
Step 5: Chill
Spoon the mousse into individual serving cups or a serving bowl. Refrigerate for at least 1 to 2 hours to allow the mousse to set.
Step 6: Serve
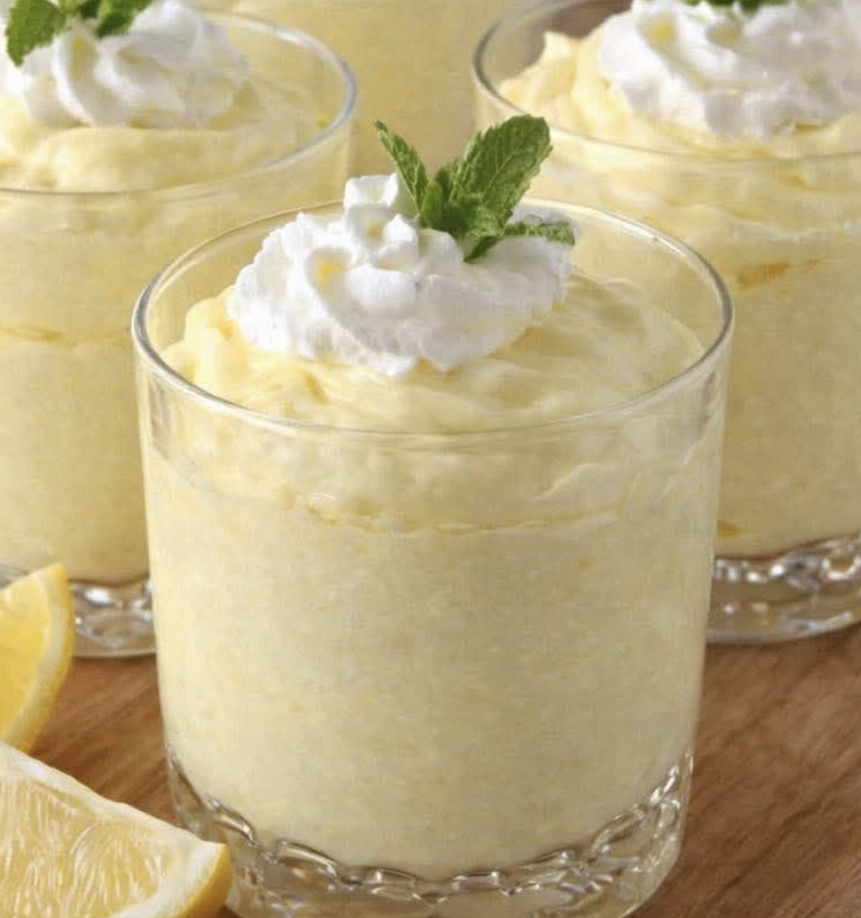
Garnish with fresh lemon zest, berries, or a dollop of extra whipped topping if desired. Serve chilled.
Tips for the Perfect Lemon Cheesecake Mousse
-
Use Full-Fat Cream Cheese: Full-fat cream cheese provides the richest, creamiest texture. Low-fat versions may result in a thinner consistency.
-
Fresh Lemon Juice is Key: Freshly squeezed lemon juice gives the mousse its bright, authentic flavor. Bottled lemon juice cannot replicate the same freshness.
-
Zest Before Juicing: If you plan to garnish with lemon zest, zest the lemons before cutting and juicing them.
-
Soften Cream Cheese Properly:Leave cream cheese at room temperature for 30 to 60 minutes before using. Cold cream cheese will be lumpy and difficult to blend.
-
Fold, Don’t Stir: Folding the whipped topping in gently preserves the light, airy texture. Stirring vigorously can deflate the mousse.
-
Chill Thoroughly: Refrigerate for at least 1 to 2 hours to allow the mousse to set. For a firmer texture, chill for 3 to 4 hours or overnight.
Variations and Additions
-
Lemon Cheesecake Pie: Spread the mousse into a prepared graham cracker crust and chill until set.
-
Berry Lemon Mousse: Fold in ½ cup of fresh raspberries, blueberries, or strawberries.
-
Lemon Coconut: Add ¼ cup of sweetened shredded coconut to the mousse.
-
Extra Sweet: Add 2 to 3 tablespoons of powdered sugar if you prefer a sweeter mousse.
-
Lime Cheesecake Mousse:Substitute lemon juice with fresh lime juice and add lime zest.
-
Chocolate Lemon: Drizzle with melted dark chocolate before serving.
What to Serve with Lemon Cheesecake Mousse
This light, tangy mousse is delicious on its own or paired with:
-
Graham Cracker Crust: Serve as a no-bake pie.
-
Fresh Berries: Raspberries, blueberries, or strawberries add color and flavor.
-
Shortbread Cookies: Buttery cookies provide a nice contrast.
-
Whipped Cream: An extra dollop for added indulgence.
-
Lemon Zest: A sprinkle of fresh zest adds brightness and visual appeal.
Storage and Make-Ahead
-
Refrigerator: Store covered in the refrigerator for up to 3 days.
-
Make-Ahead: This mousse is perfect for making a day or two in advance. Simply prepare, chill, and serve when ready.
-
Freezer: This dessert can be frozen for up to 1 month. Thaw in the refrigerator before serving.
Why This Recipe Works
This recipe succeeds because of the perfect balance between creamy richness and bright acidity. The cream cheese provides a smooth, decadent base, while the fresh lemon juice cuts through the richness with its tangy, citrusy brightness. Whipped topping lightens the mixture, creating an airy, mousse-like texture that is both satisfying and refreshing.
The simplicity of this recipe allows the quality of the ingredients to shine. Using fresh lemon juice and good-quality cream cheese makes all the difference.
Nutritional Information
Please note that values are estimates and will vary based on specific ingredients and portion sizes.
Per serving (based on 6 servings):
| Nutrient | Amount |
|---|---|
| Calories | 150–180 |
| Protein | 3–4g |
| Carbohydrates | 8–10g |
| Fat | 12–14g |
| Saturated Fat | 8–9g |
| Sugar | 6–7g |
Conclusion
Lemon Cheesecake Mousse is proof that you do not need a long list of ingredients or complicated techniques to create a stunning dessert. With just three simple ingredients, you can make a light, creamy, and refreshing treat that is perfect for any occasion. Whether you serve it in individual cups, as a pie, or simply enjoy it by the spoonful, this mousse is sure to delight.
I hope this recipe brings a little sunshine to your table. If you give it a try, please leave a comment below. I would love to hear how it turned out for you.