
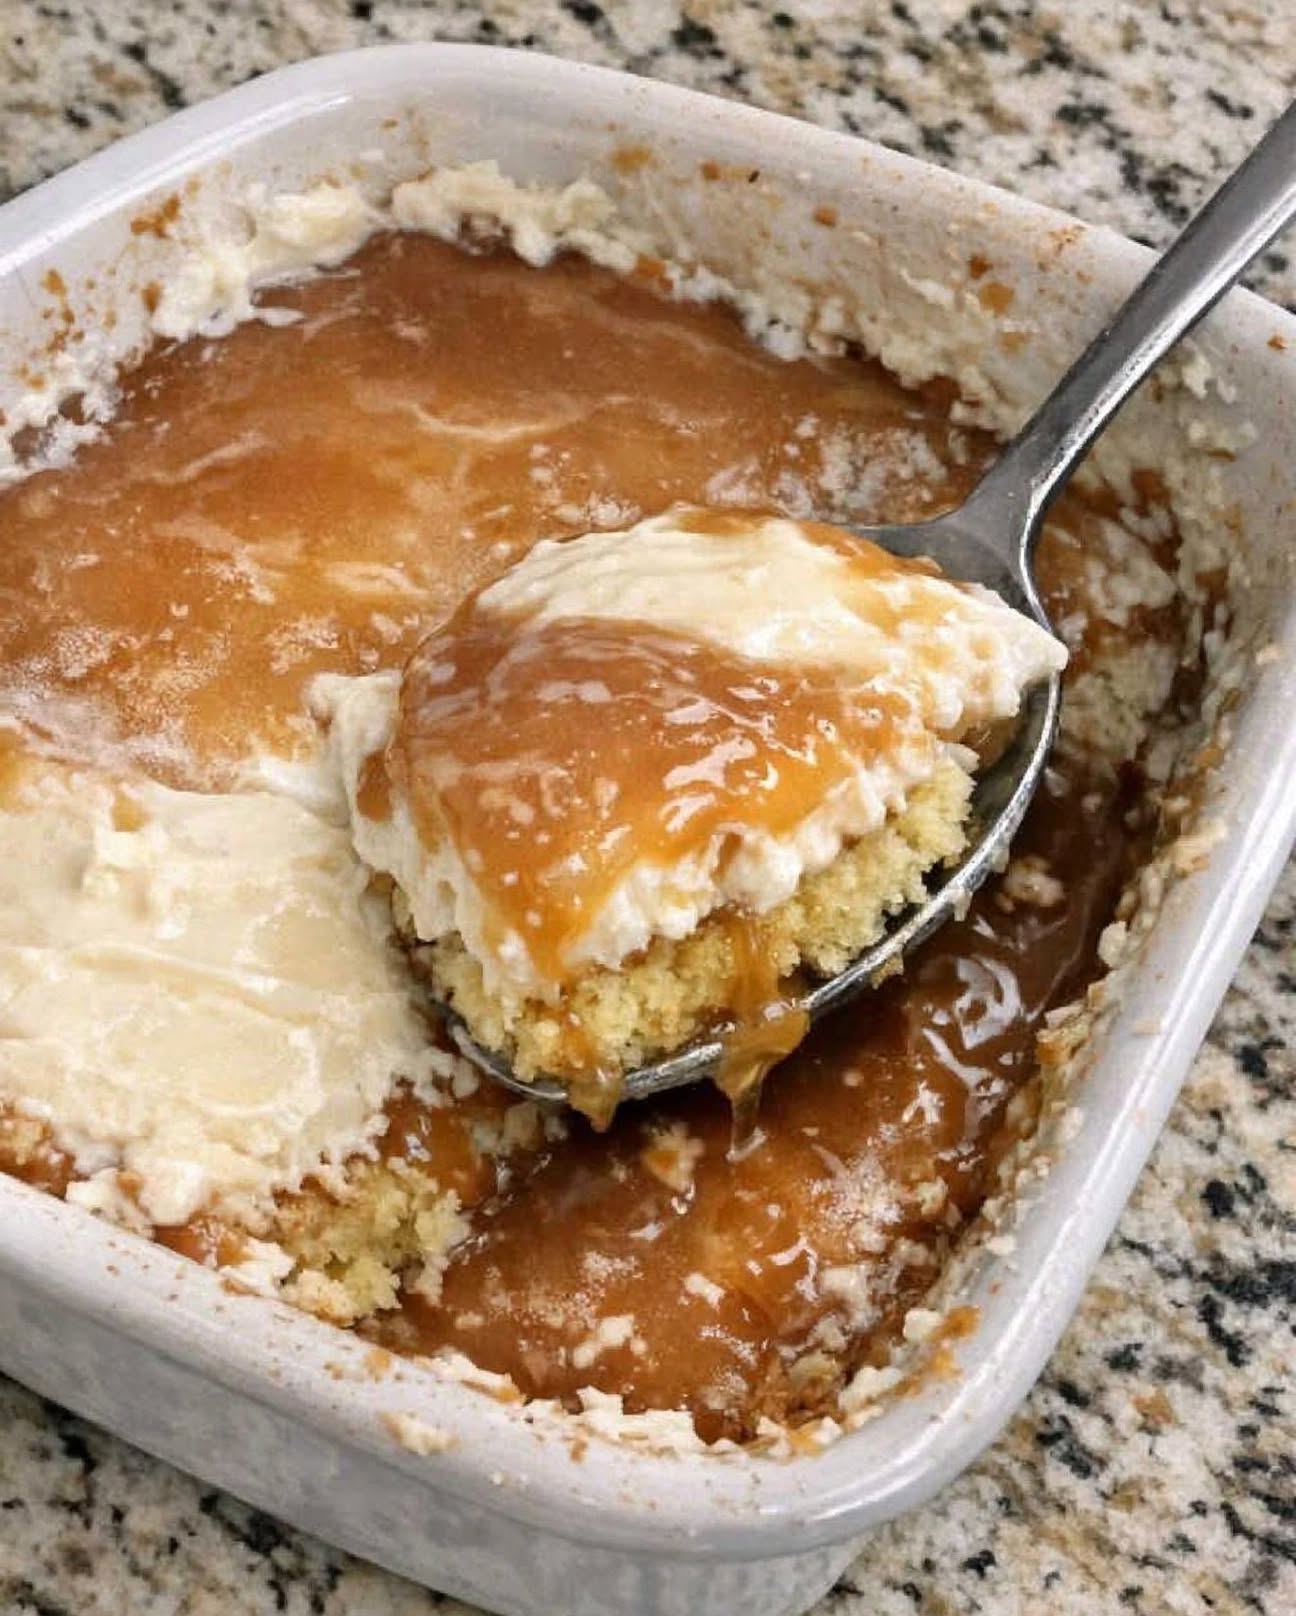
Nana Helen wrote this recipe on the back of a bank deposit slip in the late 1980s, and somehow that little handwritten note turned into one of the most requested desserts at every neighborhood potluck. With just 3 simple ingredients, this Caramel Belmont Cake proves that an easy dessert can still feel wonderfully indulgent.
Imagine a soft, tender yellow cake soaked with buttery caramel sauce, then finished with a cloud of creamy whipped topping. The caramel seeps into every little hole, creating pockets of rich sweetness throughout the cake while the cool topping balances everything with a light, creamy finish.
It is the kind of old-fashioned potluck cake that requires almost no fuss but disappears quickly once it hits the dessert table. There is no complicated frosting, no homemade caramel to babysit, and no long list of specialty ingredients. Just a cake mix, caramel topping, and whipped topping come together to make a dessert that tastes far more special than the effort suggests.
If you love easy cake recipes, vintage desserts, caramel desserts, and 3-ingredient recipes, this is one to keep in your recipe box.
Why You’ll Love This Caramel Belmont Cake
There is a reason recipes like this have survived from one generation to the next.
– Only 3 ingredients: You need just yellow cake mix, caramel sauce, and whipped topping.
– Minimal preparation: The cake does most of the work for you.
– No complicated frosting: The whipped topping goes straight over the cooled cake.
– Make-ahead friendly: A few hours in the refrigerator actually improves the texture.
– Perfect for potlucks: It travels well and can be sliced or scooped straight from the baking dish.
– Rich caramel flavor: Poking holes into the warm cake allows the sauce to soak deep inside.
– Family-friendly: The soft cake and creamy caramel combination is hard for dessert lovers to resist.
3-Ingredient Caramel Belmont Cake Ingredients
1 box yellow cake mix
The yellow cake mix provides a soft, tender, lightly buttery base that absorbs the caramel beautifully. It is intentionally simple because the caramel is meant to be the star of this dessert. Prepare the mix according to the directions on the package.
1 jar caramel ice cream topping or caramel sauce, about 12 ounces
This is where the signature caramel flavor comes from. A pourable caramel ice cream topping works especially well because it can easily seep into the holes poked throughout the warm cake, creating sweet caramel pockets in every serving.
1 container frozen whipped topping, about 8 ounces, thawed
The whipped topping provides a cool, creamy contrast to the rich caramel-soaked cake. Once spread over the completely cooled cake, it creates a light topping without requiring a mixer or homemade frosting.
How to Make 3-Ingredient Caramel Belmont Cake
Step 1: Bake the cake
Prepare the yellow cake mix according to the package directions. Pour the batter into a 9-by-13-inch baking dish and bake until the cake is completely done.
Remove it from the oven and let it rest for about 5 minutes. You want the cake warm enough for the caramel to absorb easily but not so hot that the topping becomes difficult to manage.
Step 2: Poke holes throughout the cake
While the cake is still warm, use the handle of a wooden spoon to carefully poke holes all over the surface.
Space the holes fairly evenly so the caramel can travel throughout the cake instead of collecting in only a few areas.
This simple step is the secret to the dessert’s signature texture.
Step 3: Add the caramel
Slowly pour the caramel sauce over the warm cake. Take your time and allow the sauce to flow into the holes.
Use a spatula or the back of a spoon to gently spread any remaining caramel across the surface so the entire cake receives an even coating.
Step 4: Cool completely
Allow the caramel-covered cake to cool completely before adding the whipped topping.
This is important because putting whipped topping onto a warm cake can cause it to soften or melt.
Step 5: Add the whipped topping
Once the cake has cooled, spread the thawed whipped topping evenly over the entire surface.
Smooth it from edge to edge for a clean, creamy finish.
Step 6: Chill before serving
Cover the cake and refrigerate it for at least 2 hours.
Chilling gives the caramel time to soak into the cake and allows the layers to settle together. When you’re ready to serve, cut the cake into squares or scoop it directly from the baking dish.
Serve cold and enjoy!
Pro Tips for the Best Caramel Belmont Cake
Let the cake stay warm for the caramel step. The sauce absorbs more easily when the cake has just come out of the oven and had a few minutes to rest.
Do not skip the holes. Those little openings are what transform an ordinary cake into a caramel poke cake with flavor throughout every bite.
Pour slowly. Rather than dumping all the caramel into the center, drizzle it gradually across the entire cake so it has a better chance of spreading evenly.
Cool completely before topping. This keeps the whipped topping fluffy and prevents it from becoming runny.
Give it time to chill. Although you can technically serve it sooner, a couple of hours in the refrigerator allows the caramel to settle into the cake and makes the finished dessert even more enjoyable.
Use a sturdy baking dish. A 9-by-13-inch ceramic or glass dish works beautifully and makes this an especially convenient potluck dessert.
Easy Variations
Caramel Drizzle Cake
Reserve a few spoonfuls of caramel sauce and drizzle them over the whipped topping just before serving. It gives the cake a beautiful bakery-style finish without adding much work.
Caramel Pecan Cake
Add a light sprinkle of toasted chopped pecans over the top before serving. The nutty crunch pairs wonderfully with the soft cake and rich caramel.
Vanilla-Caramel Cake
If yellow cake mix is unavailable, vanilla cake mix or butter cake mix can be substituted. Choose a soft cake that will absorb the caramel well.
Caramel Ice Cream Cake
For an extra-indulgent dessert, serve each slice with a small scoop of vanilla ice cream and another drizzle of warm caramel.
How to Serve Caramel Belmont Cake
This is a natural potluck dessert, but it is just as welcome at a family dinner, church supper, holiday gathering, birthday table, or casual weekend get-together.
Serve chilled with:
– Hot coffee
– Black tea
– Cold milk
– Vanilla ice cream
– Fresh berries or sliced fruit
– Toasted pecans
– An extra drizzle of caramel sauce
Because the cake is already rich and creamy, simple sides work best. Fresh fruit or a cup of unsweetened coffee can provide a pleasant contrast to the sweetness.
Frequently Asked Questions
Can I make Caramel Belmont Cake ahead of time?
Absolutely. In fact, this is an excellent make-ahead dessert. Prepare the cake, cover it, and refrigerate it for several hours before serving. The additional chilling time allows the caramel to soak into the cake.
How long should the cake chill?
Chill it for at least 2 hours before serving. For the best texture, you can prepare it earlier in the day and let it remain refrigerated until dessert time.
Can I use homemade caramel sauce?
Yes. A homemade caramel sauce can be used as long as it has a pourable consistency. Store-bought caramel topping is simply the quickest and easiest option for this 3-ingredient cake.
Should Caramel Belmont Cake be refrigerated?
Yes. Because of the whipped topping, keep the finished cake refrigerated until you’re ready to serve it.
The Old-Fashioned Dessert That Still Works
Some recipes become classics because they are complicated and impressive. Others become classics because they are easy, dependable, and delicious.
This 3-Ingredient Caramel Belmont Cake belongs firmly in the second category. A simple boxed cake becomes something completely different once warm caramel sinks into every hole, followed by a cool layer of creamy whipped topping. The result is soft, rich, sweet, and wonderfully nostalgic.
Whether you’re making it for a neighborhood potluck, a family gathering, a church supper, or simply because you want an easy caramel dessert after dinner, this recipe delivers without demanding much from the cook.
Three ingredients. One baking dish. Almost no fuss.
And just like Nana Helen’s handwritten recipe from the late 1980s, it may be the dessert everyone asks you to bring again.