
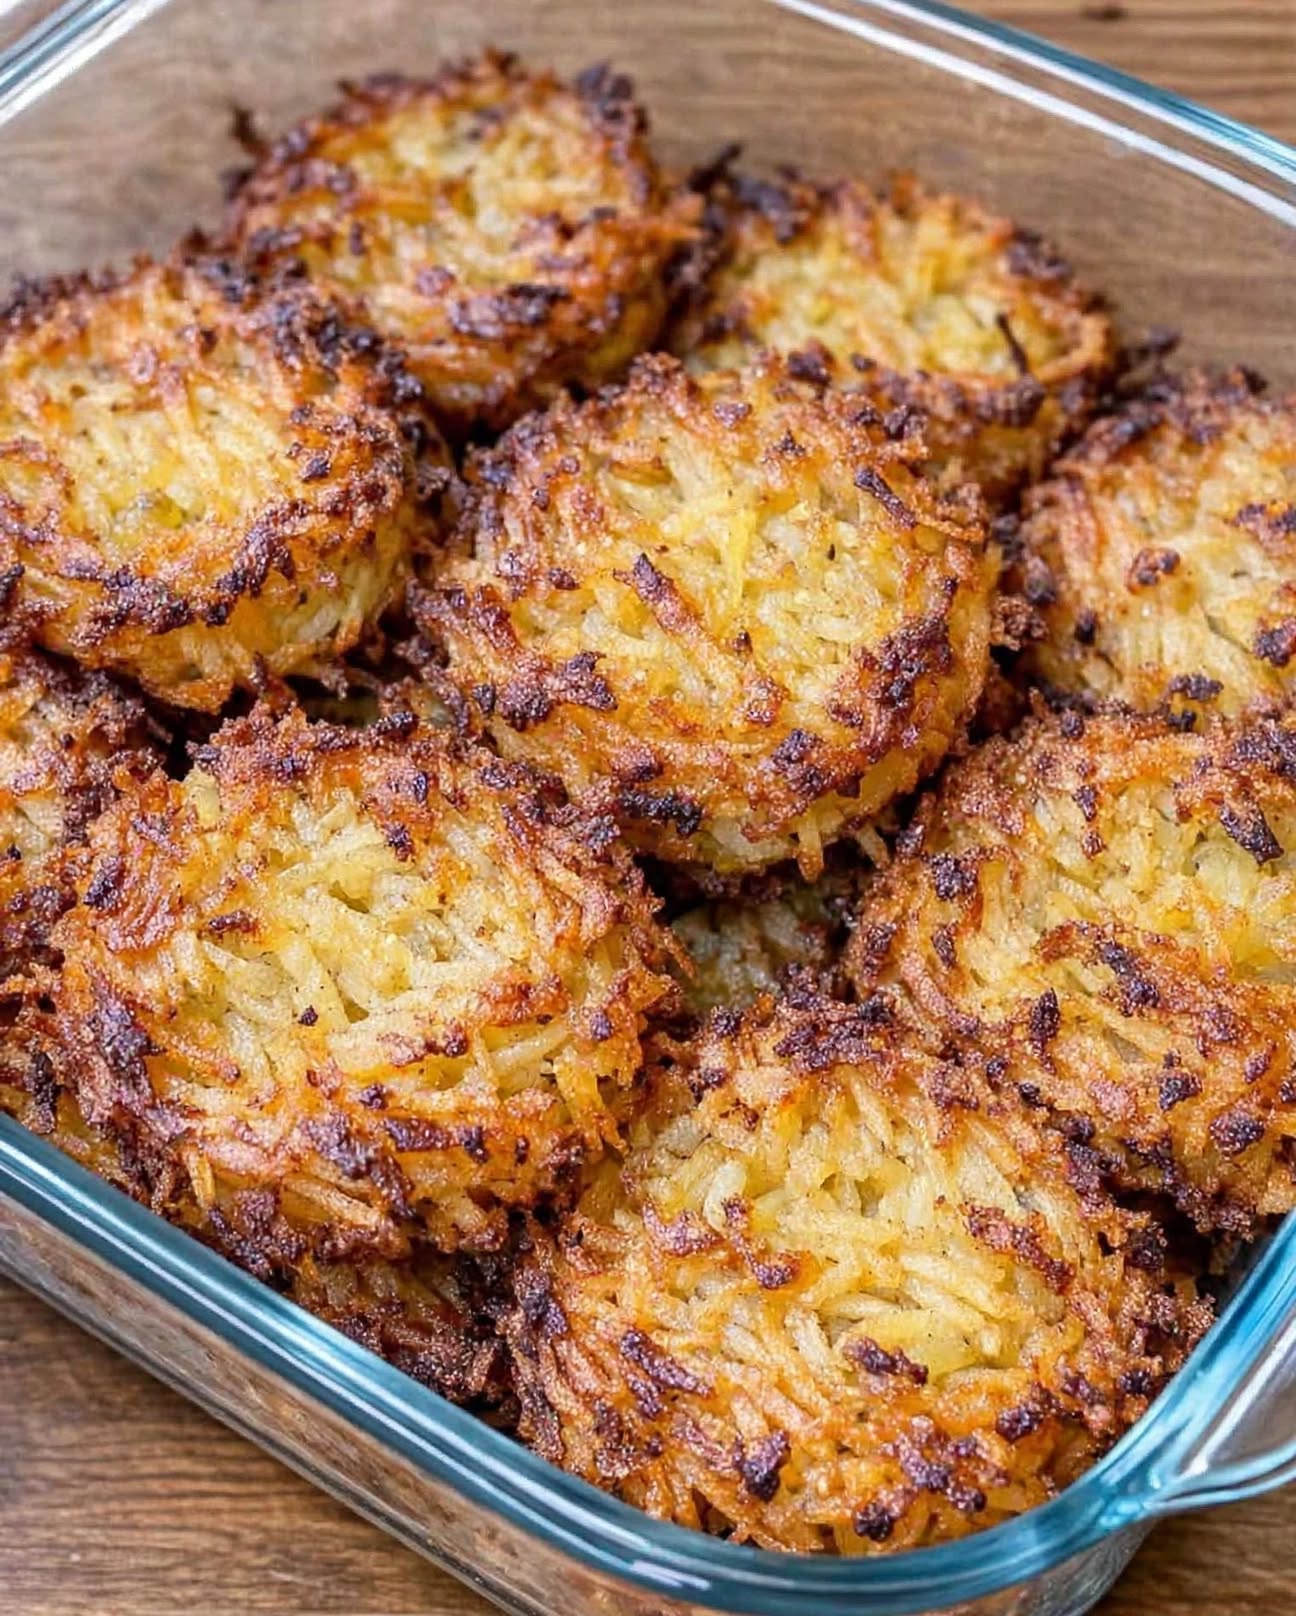
My grandfather asked me to make these crispy potato rostis for his Sunday card game, and I honestly should have made a double batch. They disappeared within minutes! With just 3 simple ingredients, these golden, buttery potatoes develop irresistibly crispy edges and a tender, satisfying center.
If you love easy potato recipes that taste like they took much more effort than they actually did, this one is for you. Traditional rosti is often cooked on the stovetop, but this oven baked potato rosti recipe makes the process wonderfully simple. No standing over a skillet, no flipping a large potato cake, and no complicated ingredients. Just grate, squeeze, mix, bake, and enjoy.
Whether you serve them for breakfast, brunch, dinner, or as a crowd-pleasing party side dish, these crispy baked potatoes are guaranteed to be one of the first things to disappear from the table.
Why You’ll Love These 3-Ingredient Potato Rostis
There are plenty of reasons to keep this easy potato recipe in your regular meal rotation:
Only 3 ingredients: You probably already have everything you need.
Budget-friendly: A simple bag of potatoes becomes a delicious side dish for the whole family.
Crispy and golden: The high oven temperature creates beautifully browned, crunchy edges.
Easy to make for a crowd: Baking everything in one dish means less hands-on work.
Versatile: Serve these potato rostis for breakfast, lunch, dinner, or snacking.
Family-friendly: Their simple buttery flavor is loved by both kids and adults.
No flipping required: Unlike traditional skillet rosti, the oven does most of the work.
The best part is that this recipe proves you don’t need a long ingredient list to make something truly delicious.
Ingredients for Oven Baked Potato Rostis
Russet Potatoes – 2 pounds, peeled
Russet potatoes are the star of this recipe and the best choice for achieving that classic crispy rosti texture. Their high starch content helps the shredded potatoes hold together while baking and encourages the edges to become beautifully crisp and golden.
After grating, it’s important to remove as much moisture as possible. Drier potato shreds mean crispier potato rostis, while excess moisture can cause them to steam instead of brown.
Salt – 1 teaspoon
Salt may be simple, but it plays an important role in bringing out the natural flavor of the potatoes. Since this recipe contains only three ingredients, proper seasoning helps make every bite taste rich and satisfying.
You can adjust the amount slightly according to your taste, but don’t skip it. Even the crispiest potatoes need a little seasoning to shine.
Melted Butter – 3 tablespoons
The melted butter adds richness, flavor, and helps the potatoes brown beautifully in the oven. It coats the shredded potatoes so they bake evenly and develop those delicious golden edges.
Butter gives these rostis a classic, comforting flavor that makes them especially irresistible. Be sure to toss the potatoes thoroughly so the butter is distributed evenly throughout the mixture.
How to Make 3-Ingredient Crispy Potato Rostis
Step 1: Preheat the Oven
Preheat your oven to 425°F. A hot oven is essential for creating those deeply golden, crispy edges that make a good potato rosti so irresistible.
Lightly grease a 9×13-inch baking dish with butter or cooking oil to help prevent sticking.
Step 2: Grate the Potatoes
Peel the russet potatoes, then grate them using the large holes of a box grater. You can also use a food processor fitted with a shredding attachment if you want to save time.
Try to keep the potato shreds relatively uniform so they cook evenly.
Step 3: Squeeze Out the Moisture
Place the grated potatoes in a clean kitchen towel. Gather the towel around the potatoes and squeeze firmly over the sink to remove as much liquid as possible.
This is one of the most important steps for crispy potato rostis. Potatoes naturally contain a lot of water, and removing that moisture helps them roast instead of steam.
Don’t be afraid to squeeze thoroughly—the drier the potatoes, the crispier the finished rosti.
Step 4: Season and Add the Butter
Transfer the squeezed potato shreds to a large mixing bowl. Add the salt and melted butter, then toss everything together until the potatoes are evenly coated.
Make sure the butter reaches all of the potato shreds. This will help the entire dish bake into an evenly golden, flavorful potato rosti.
Step 5: Spread Into the Baking Dish
Transfer the potato mixture to your prepared baking dish. Spread it into an even layer, then gently press it down.
Avoid packing the potatoes too tightly. A firm but not overly compressed layer allows heat to circulate and helps create a better combination of crispy edges and tender centers.
Step 6: Bake Until Golden and Crispy
Bake for 35 to 45 minutes, or until the potatoes are deeply golden brown and crisp around the edges.
Baking time can vary depending on your oven and the thickness of the potato layer, so begin checking around the 35-minute mark.
For the best texture, look for a deep golden surface rather than removing the rosti as soon as the potatoes are merely cooked through.
Step 7: Rest and Serve
Remove the baking dish from the oven and let the potato rosti rest for about 5 minutes.
This short resting time allows the potatoes to settle slightly, making them easier to cut or scoop. Serve immediately while the edges are still hot and crispy.
Pro Tips for Perfect Crispy Potato Rostis
Squeeze the potatoes really well
If you remember only one tip from this recipe, make it this one. Removing excess moisture is the secret to achieving crispy results.
After squeezing the potatoes in a kitchen towel, you can even spread them briefly over a dry, clean towel before mixing them with the butter.
Use russet potatoes for maximum crispiness
Russets are naturally starchy and bake beautifully. They create the best contrast between a crispy exterior and a soft, tender interior.
Yukon Gold potatoes can also be used, but they will produce a creamier texture and may not become quite as crisp.
Don’t make the potato layer too thick
A thinner layer means more surface area has contact with the hot baking dish, which means more opportunities for delicious browning.
If you love extra crunch, divide the mixture between two smaller baking dishes or use a slightly larger pan.
Give the rosti enough time to brown
Patience pays off with this recipe. The potatoes may be cooked before they are fully crispy, so allow them to continue baking until the surface and edges develop a rich golden color.
That deep browning is where much of the flavor and irresistible texture comes from.
Reheat leftovers in the oven or air fryer
If you have leftovers, avoid reheating them in the microwave if possible. While the microwave will warm them quickly, it can soften the crispy texture.
Instead, reheat the rosti in a hot oven or air fryer until warmed through and crisp again.
Optional Flavor Variations
The classic 3-ingredient potato rosti is wonderfully simple, but you can easily add extra flavor if desired.
Try adding a small amount of:
Black pepper for gentle warmth
Garlic powder for a savory touch
Onion powder for extra depth
Chopped chives for fresh flavor
Paprika for a subtle smoky note
Shredded cheese for an extra-rich variation
Keep additional ingredients relatively light so the potatoes remain the star of the dish and the mixture still bakes evenly.
What to Serve with Potato Rostis
These crispy oven baked potato rostis are incredibly versatile and fit into almost any meal.
For breakfast or brunch, serve them with:
Fried or scrambled eggs
Crispy bacon or breakfast sausage
Fresh fruit
Sour cream
Smoked salmon
For dinner, they pair beautifully with:
Roast chicken
Grilled or pan-seared steak
Sausages
Burgers
Roasted vegetables
A simple green salad
For a casual snack or party table, cut the baked rosti into squares and serve with dipping sauces such as:
Chive sour cream
Herbed yogurt dip
Applesauce
Garlic aioli
Ketchup
Their crispy, golden texture makes them perfect for dipping, and smaller portions are especially convenient when serving a crowd.
Can I Make Potato Rostis Ahead of Time?
Yes! While these rostis are at their absolute best fresh from the oven, leftovers store well in the refrigerator.
Allow them to cool completely, then place them in an airtight container and refrigerate. When you’re ready to enjoy them again, reheat in a hot oven or air fryer until the edges become crispy.
For the best make-ahead results, store the potatoes after baking rather than grating raw potatoes in advance, since raw shredded potatoes can discolor and release additional moisture.
The Easiest Crispy Potato Side Dish
These oven baked 3-ingredient crispy potato rostis are proof that the simplest recipes can sometimes be the most memorable. With nothing more than russet potatoes, salt, and butter, you can create a golden, crispy, comforting dish that feels right at home on a breakfast table, beside a family dinner, or at a busy Sunday gathering.
There is no complicated preparation, no expensive ingredients, and no need to stand over the stove flipping potato cakes. Just a few minutes of prep, one baking dish, and a hot oven are all it takes to create crispy edges, tender potato centers, and incredible buttery flavor.
Make them once, and don’t be surprised if your family asks for them again and again. Just like my grandfather’s Sunday card game, they may vanish before you even have time to grab a second helping!