Servings: 6 | Prep time: 10 minutes | Cook time: 40–55 minutes | Total time: About 1 hour
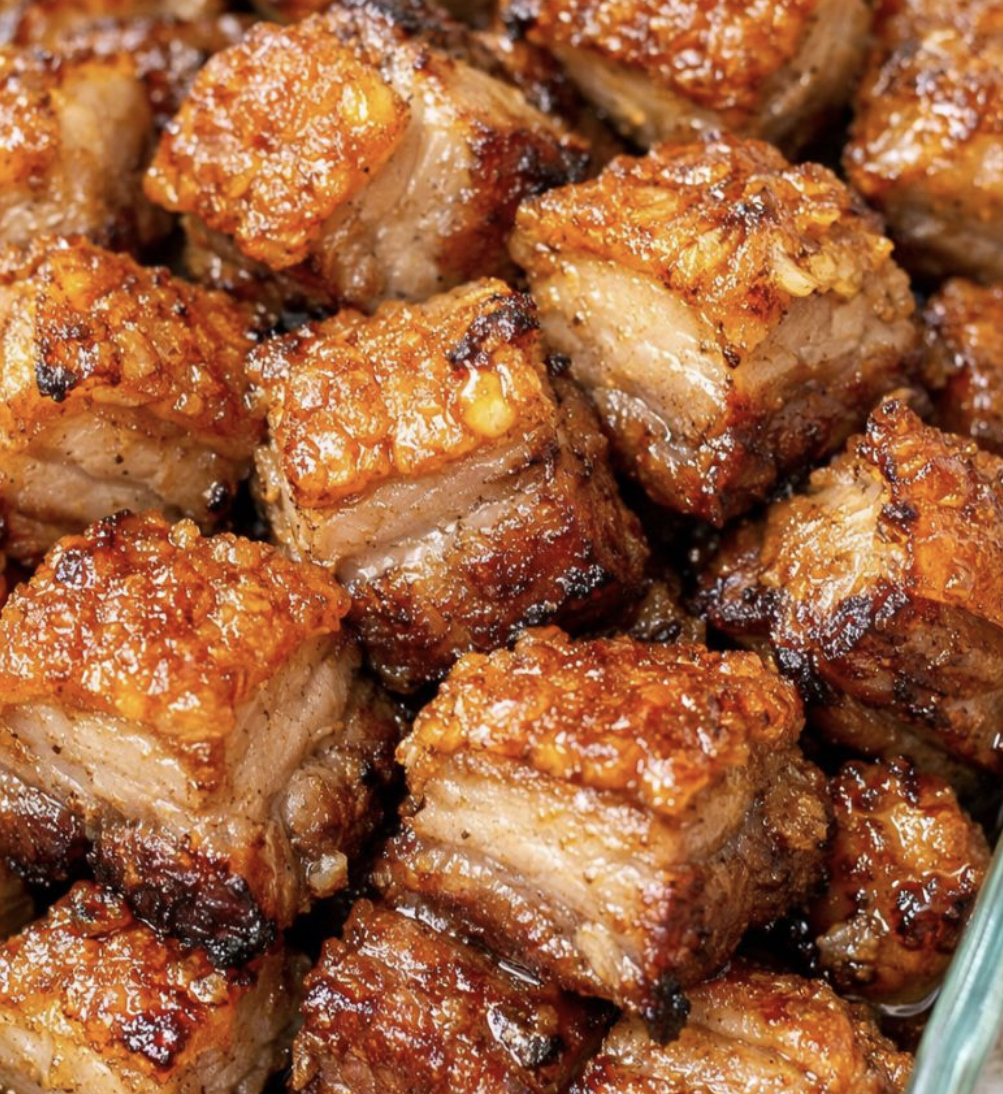
Let me tell you about a recipe that sounds too simple to be this good. Three ingredients. Pork belly, salt, and pepper. That’s it. No marinade. No sauce. No complicated techniques. And yet, what comes out of your oven is pure magic: crispy, crackly, golden-brown pork bites with tender, juicy meat inside and skin that shatters like the best pork crackling you’ve ever had.
These Low Carb 3-Ingredient Pork Bites are proof that you don’t need a long ingredient list to create something extraordinary. The secret is in the method — a hot oven, a preheated baking dish, and the perfect balance of time and temperature. The pork belly renders its own fat, which acts as the cooking medium, basting the meat and crisping the skin to perfection.
These bites are naturally low-carb and keto-friendly, with zero sugar and no hidden carbs. They’re perfect for game day snacking, a protein-packed appetizer, or even a main course served alongside a crisp green salad or roasted vegetables.
The skin becomes blistered, puffed, and deeply golden — the kind of crackling that makes everyone crowd around the kitchen counter, waiting for the first piece. And the best part? You can make them with almost no hands-on time. Just season, roast, and watch them disappear.
Why You’ll Love This Recipe
-
Only three ingredients – Pork belly, salt, pepper. That’s it.
-
Incredibly crispy skin – Blistered, puffed, crackly perfection.
-
Tender, juicy meat – The fat renders slowly, keeping the meat moist.
-
Naturally low-carb and keto-friendly– Zero sugar, zero hidden carbs.
-
No marinade, no sauce, no complicated steps – Just season and roast.
-
Perfect for snacking or as a main course – Versatile and crowd-pleasing.
-
Foolproof method – The preheated baking dish is the secret.
Ingredients
-
Pork belly, skin on – 2 pounds, cut into 1-inch cubes
-
Kosher salt – 2 teaspoons
-
Freshly ground black pepper – 1 teaspoon
Ingredient Notes
What is pork belly? Pork belly is the boneless cut from the belly of the pig. It’s the same cut used to make bacon (but unsmoked and unsliced). It has alternating layers of meat and fat, which render down during cooking to create tender, juicy meat and crispy skin. You can find pork belly at most grocery stores, butcher shops, or Asian markets.
Skin on or skin off? Skin on is essential for this recipe. The skin is what turns into that glorious, puffed, crackly crust. Without the skin, you’ll just have roasted pork fat — still delicious, but not the same. Ask your butcher for “pork belly with skin on.”
Why kosher salt? Kosher salt has larger, flakier crystals than table salt. It adheres to the meat better and dissolves more evenly. Table salt works but is more concentrated — use 1 teaspoon instead of 2.
Can I add other seasonings?Absolutely. While the recipe is designed to be minimalist, you can add garlic powder, onion powder, smoked paprika, or cayenne pepper. This recipe is a perfect base — customize it however you like.
Step-by-Step Instructions
Step 1: Preheat the Oven and the Baking Dish
Preheat your oven to 425°F (220°C) .
Place a sturdy glass baking dish (a 9×13-inch Pyrex or similar) on the middle rack while the oven heats. You want the dish to get good and hot before the pork goes in.
Why preheat the dish? A hot baking dish sears the pork immediately, jump-starting the crisping process. Cold dish + cold pork = longer cooking time and less crispy skin.
Step 2: Prep the Pork Belly
Pat the 2 pounds of pork belly cubesvery dry with paper towels. This is critical. Any moisture on the surface will steam instead of crisp. Take your time and pat every piece until it feels dry to the touch.
Step 3: Season the Pork
Place the pork cubes in a large bowl. Sprinkle evenly with 2 teaspoons of kosher salt and 1 teaspoon of freshly ground black pepper.
Toss well with your hands until every piece is lightly and evenly seasoned. Don’t be shy — the salt helps draw out moisture and enhances the crisping.
Step 4: Arrange in the Hot Dish
Carefully remove the hot glass baking dish from the oven and set it on a heatproof surface (like a trivet or a cold stovetop). Use oven mitts — the dish is very hot.
Arrange the pork belly cubes in a single layer, skin side up as much as possible. Leave a little space between each piece so the hot air can circulate around them. Crowding will cause steaming instead of crisping.
Step 5: First Roast (425°F)
Place the dish back in the oven (still at 425°F). Roast for 25 to 30 minutes.
During this time, the fat will start to render and the meat will begin to turn a rich amber color. The skin won’t be fully crispy yet — that comes next.
Step 6: Second Roast (450°F)
Without removing the dish, increase the oven temperature to 450°F (230°C) .
Continue roasting for another 15 to 25 minutes, until:
-
The skin is puffed, blistered, and deep golden
-
The meat is sizzling and crisp around the edges
-
The fat has rendered into a pool of golden goodness
If your oven has hot spots, rotate the dish halfway through this final roasting period.
Watch closely toward the end: The skin can go from perfect to burnt quickly. When it’s deep golden and blistered, it’s ready.
Step 7: Rest
When the pork bites are crisp and the skin looks like crackling, carefully remove the dish from the oven.
Let the pork rest in the hot fat for 5 to 10 minutes. This allows the juices to settle and the skin to stay crisp. Do not skip this step.
Step 8: Serve
Use tongs or a slotted spoon to transfer the pork bites to a serving plate. Or leave them right in the glass baking dish for a rustic presentation.
Spoon a little of the rendered fat over the top if you like extra richness.
Serve hot while the skin is still crackling.
Variations & Tips
Make It Spicy
Add to the seasoning mix:
-
½ teaspoon of cayenne pepper
-
1 teaspoon of smoked paprika (adds smoky heat)
-
½ teaspoon of red pepper flakes
Make It Garlicky
Add 1 teaspoon of garlic powder and 1 teaspoon of onion powder to the seasoning mix. For even more garlic flavor, add 2 cloves of minced fresh garlic to the baking dish halfway through cooking (be careful — garlic can burn).
Make It Asian-Inspired
Toss the cooked pork bites in:
-
1 tablespoon of soy sauce or tamari(after cooking)
-
1 teaspoon of sesame oil
-
1 tablespoon of rice vinegar
-
Sprinkle with sesame seeds and sliced green onions
Make It Sweet (Not Low-Carb)
Toss the cooked pork bites in 1 tablespoon of honey or maple syrupmixed with 1 tablespoon of sriracha for a sweet-spicy glaze. Return to the oven for 2–3 minutes to caramelize.
Use an Air Fryer
-
Preheat air fryer to 375°F.
-
Pat pork dry and season.
-
Arrange in a single layer in the basket (work in batches if needed).
-
Cook for 15–20 minutes, shaking the basket halfway through, until skin is puffed and crispy.
Use a Cast Iron Skillet
A cast iron skillet works beautifully for this recipe. Preheat the skillet in the oven just like the glass baking dish. Cast iron retains heat exceptionally well, which helps with crisping.
Storage & Reheating
Refrigerator: Store leftovers in an airtight container for up to 4 days. The skin will soften as it sits — that’s normal.
Reheating (to restore crispiness):
-
Oven (best method): 400°F for 5–8 minutes on a wire rack set over a baking sheet.
-
Air fryer: 375°F for 3–5 minutes.
-
Skillet: Heat over medium-high heat without oil (the pork will release its own fat) for 2–3 minutes per side.
Do not microwave. The microwave will make the skin chewy and rubbery.
Freezing: Pork bites freeze well for up to 2 months. The skin will lose its crispiness, but the meat remains delicious. Reheat in the oven or air fryer to restore some crunch.
Frequently Asked Questions (FAQs)
Can I use pork shoulder instead of pork belly?
Pork shoulder (also called pork butt) is leaner and doesn’t have the same fat-to-meat ratio. It will still be delicious but won’t have the same crispy skin or tender, fatty texture. If using pork shoulder, cut into 1-inch cubes and add 2 tablespoons of oil to the baking dish.
Why is my skin not crispy?
A few possibilities:
-
The pork wasn’t dry enough – Pat it very dry before seasoning. Moisture is the enemy of crispiness.
-
The baking dish wasn’t hot enough – Preheat the dish in the oven for at least 10 minutes.
-
The pork was crowded – Leave space between pieces for air circulation.
-
You didn’t roast long enough – The second roast at 450°F is essential.
-
You covered the dish – Never cover — steam will ruin the skin.
Can I use table salt instead of kosher salt?
Yes, but reduce the amount. Table salt is more concentrated. Use 1 teaspoon of table salt instead of 2 teaspoons of kosher salt.
Do I need to flip the pork during cooking?
No. Keeping the pork skin side up allows the skin to crisp directly under the heat. Flipping would put the skin in contact with the rendered fat, making it soggy.
Can I make this on the stovetop?
Not really. The high, dry heat of the oven (or air fryer) is essential for creating puffed, blistered skin. A stovetop pan won’t provide the same all-around heat.
What if I don’t have a glass baking dish?
Use a metal baking sheet (lined with foil for easier cleanup) or a cast iron skillet. Avoid non-stick bakeware at these high temperatures (425–450°F can damage non-stick coatings).
Can I save the rendered pork fat?
Absolutely! The golden fat left in the baking dish is liquid gold. Strain it through a fine-mesh sieve into a jar and store in the refrigerator. Use it for roasting vegetables, frying eggs, or adding flavor to soups and stews.
What to Serve With It
As an appetizer or snack:
-
Serve with toothpicks for easy grabbing
-
Offer dipping sauces: ranch, blue cheese, sriracha mayo, or a simple garlic aioli
As a main course (low-carb/keto):
-
Cauliflower mash – Creamy and low-carb
-
Roasted Brussels sprouts – The bitterness balances the richness
-
Garlicky green beans – Sautéed with butter and garlic
-
Crispy kale chips – For extra crunch
As a main course (not low-carb):
-
Mashed potatoes – Classic comfort
-
Roasted sweet potatoes – Sweet and savory
-
Crusty bread – To soak up any extra juices
As a salad topping:
-
Toss over a crisp green salad with a tangy vinaigrette
-
Add to a Caesar salad instead of chicken
The Secret to Perfect Crackling
The crispy, puffed skin on these pork bites is called “crackling” (or “scratching” in some regions). The science is simple: heat causes the moisture in the skin to turn to steam, which pushes the skin outward. The fat renders and crisps the skin from the inside.
Here’s how to guarantee success:
-
Dry skin is everything. Pat the pork belly very dry with paper towels. Some cooks even leave the pork uncovered in the refrigerator overnight to dry out the skin further.
-
Salt helps. Salt draws out moisture from the skin, which then evaporates, leaving the surface drier and crispier.
-
High heat is non-negotiable. The skin needs intense heat to puff and blister. That’s why the second roast at 450°F is critical.
-
Don’t crowd the pan. Space allows hot air to circulate and hit the skin from all angles.
-
Rest before serving. The pork needs a few minutes to settle — this prevents the juices from running out when you bite in.
Final Thoughts
These Low Carb 3-Ingredient Pork Bites are proof that the best recipes are often the simplest. Pork belly. Salt. Pepper. That’s all you need to create something truly extraordinary — crispy, crackly, golden-brown bites of pure deliciousness.
The method is everything. A hot oven. A preheated baking dish. Patting the pork dry. Roasting at two different temperatures. These small steps transform humble pork belly into a dish that feels like a celebration.
Make these for game day. Make them for a low-carb snack. Make them for dinner with a side of roasted vegetables. Or make them just because you want to eat something crispy and salty and perfect. However you serve them, they won’t last long.